5 MINUTE DESIGNER KNOBS
Brush some Modpodge or glue on the surface of a knob. Place a circle with the design side facing down.
Carefully center the knob on the circle.
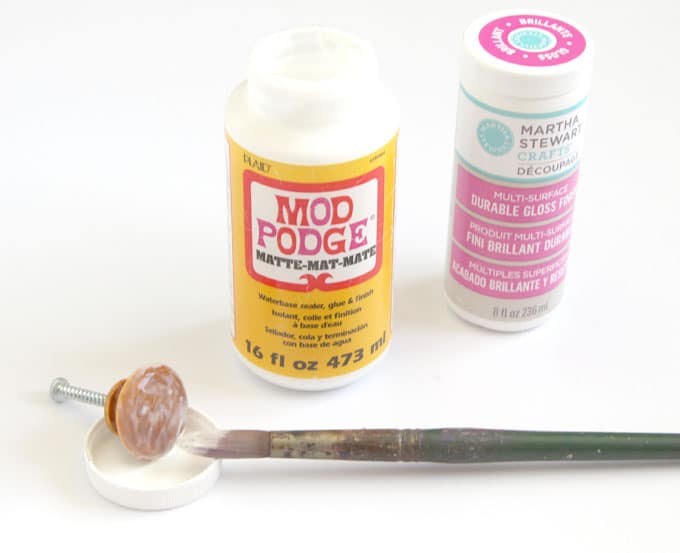
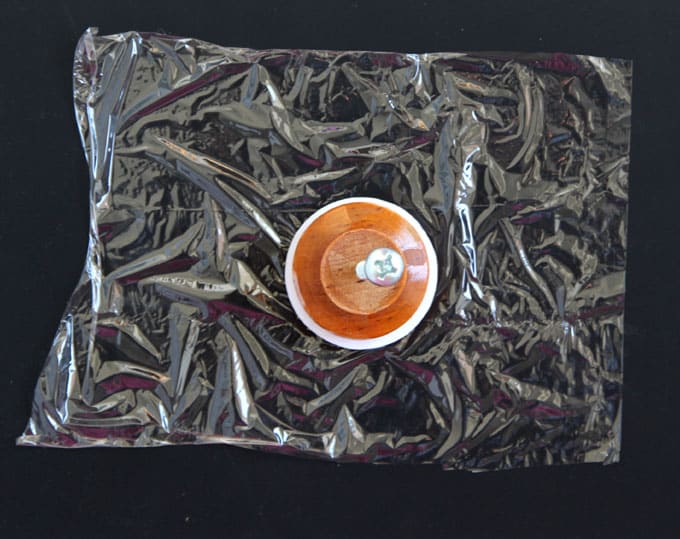
Lift the knob (now the paper circle should be sticking at the center) and brush Modpodge gently from the center outward onto the paper. Do this carefully so the paper disc does not shift on the knob.
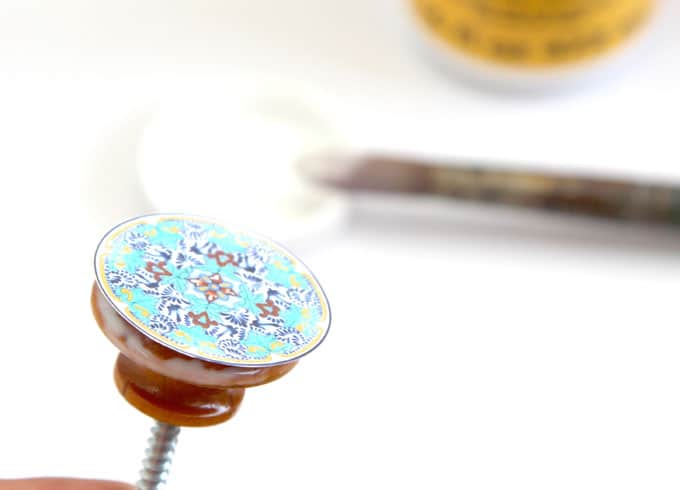
Take a piece of plastic, wrap around the knob as you press the paper and shape it along the curved surface of the knob.
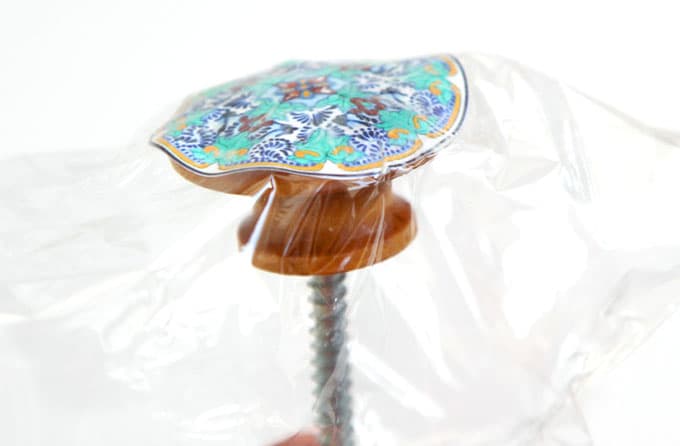
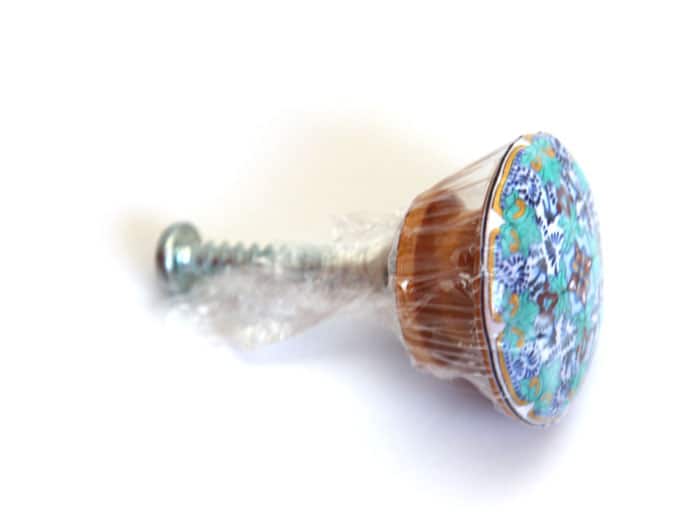
Unwrap as soon as the paper is glued to the knob.
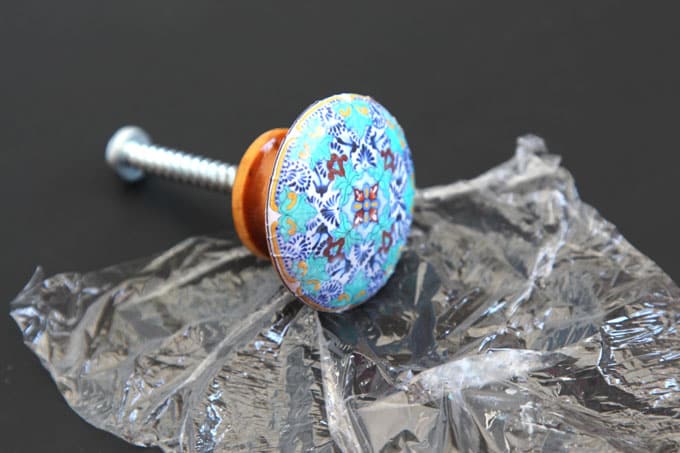
Finish by sealing each knob with 1-2 coats of Modpodge or other sealers to protect the knobs from finger prints, etc.
If you coat the knobs with Martha Stewart Decoupage Formula, it’s dishwasher safe after 28 days, which means- very durable!
Aren’t they beautiful?
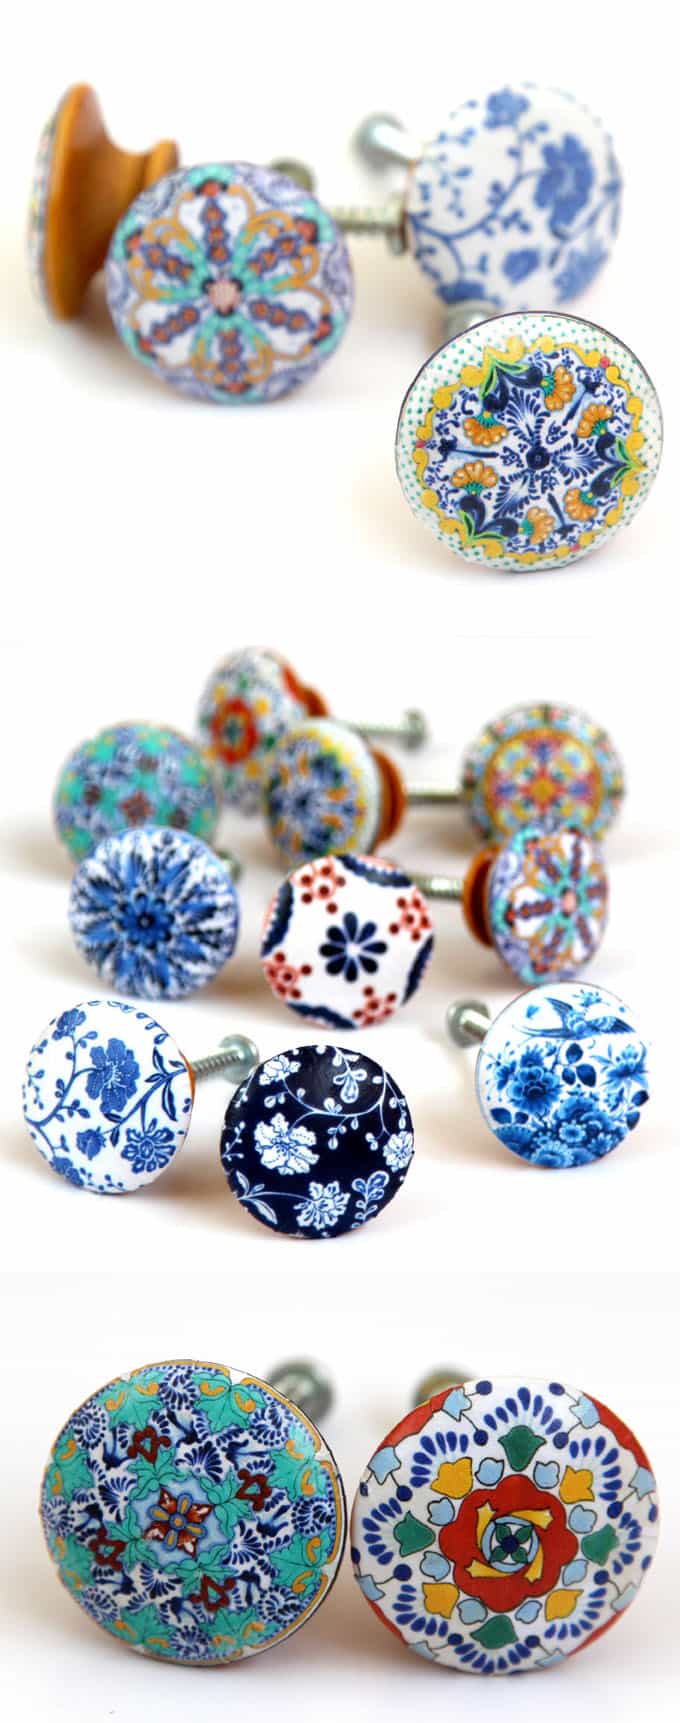
They took less than 5 minute each to make!
Yes, Anthropologie cabinet and door knobs are irresistible. We are most likely to get some when we move into our new home.
However, these DIY knobs are so easy and fun to make, I am no longer itching to run to Anthropologie now.
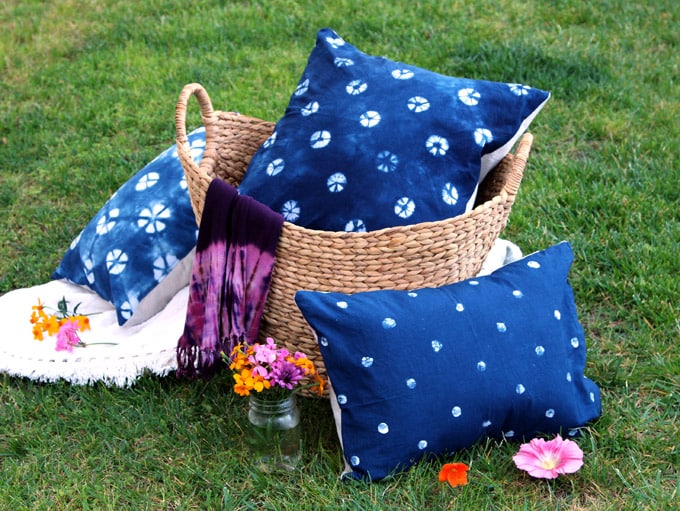
Remember how much I love indigo from these DIY indigo fabrics and pillows?
This group below is inspired by blue and white Delft ceramics, the colorful ones by Mediterranean designs especially from Spain and Italy.
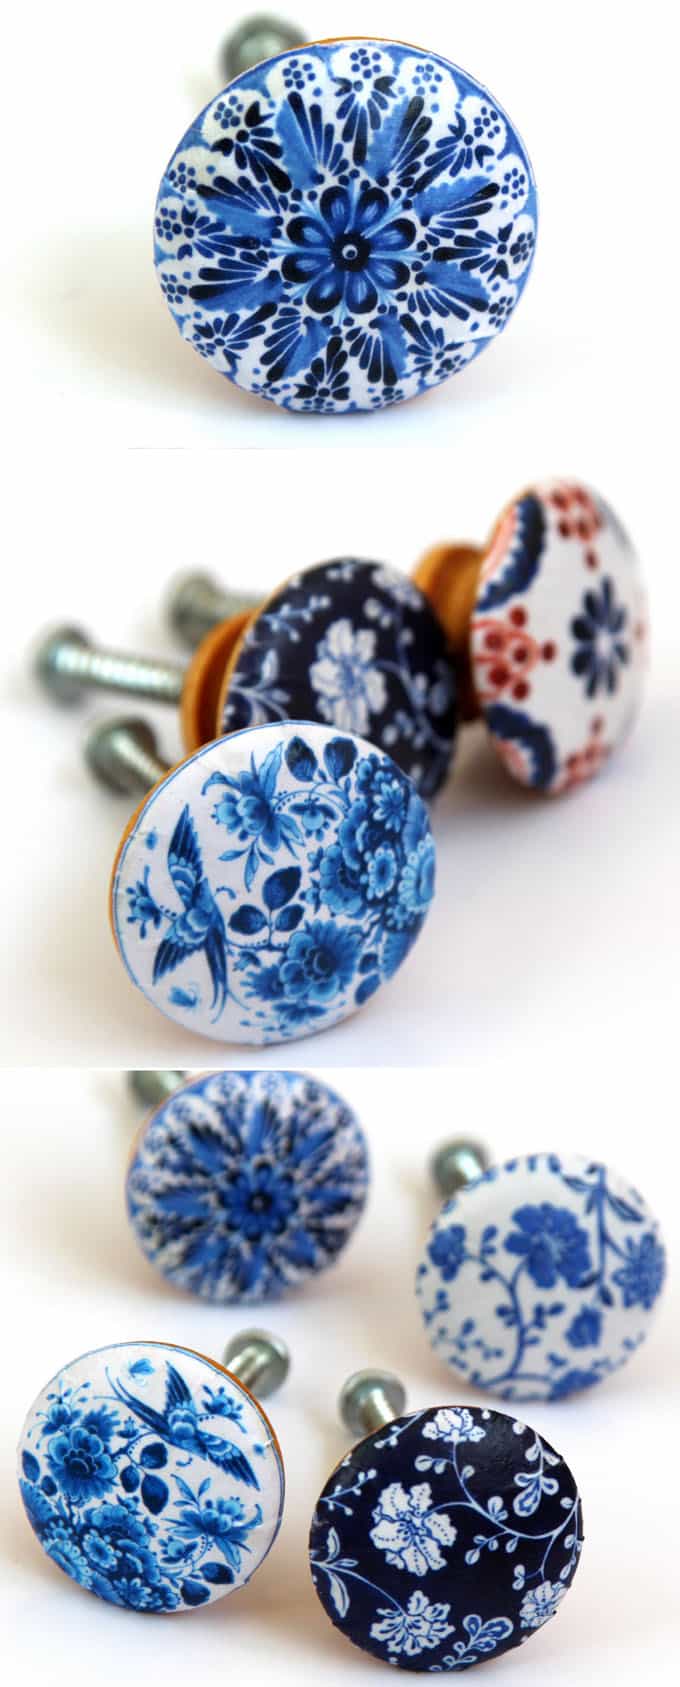
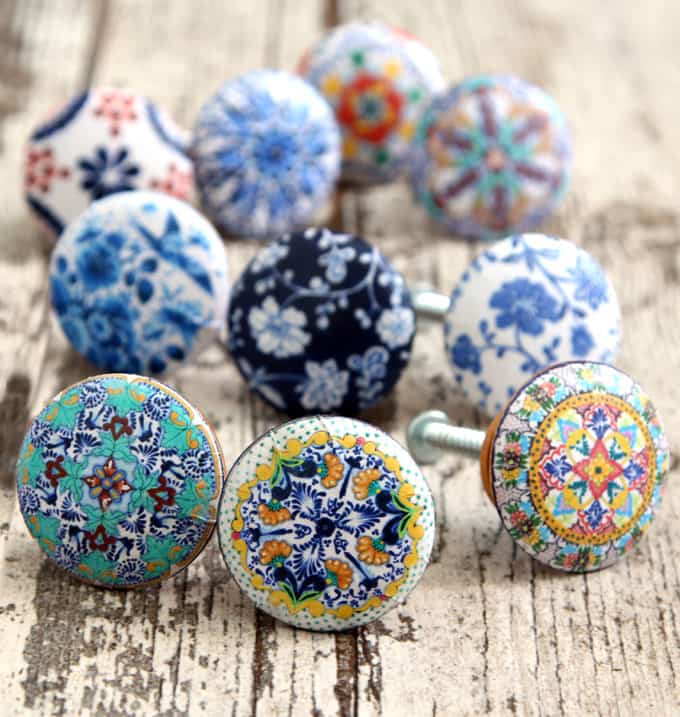
They would look gorgeous on reclaimed wood or painted wood.
The designs I made are for 2″ wooden ones with a gently curved surface like these , or 1.75″ ones like these, If you have different size knobs, just adjust the pdf to print at a smaller or larger percentage.
The printables are high resolution at 300dpi, which means you can enlarge them to 200% and they will still print out nicely!
Here are the designs for you to download – IMPORTANT: if you do not receive the designs, please check your junk mail folder. There are THOUSANDS of downloads happening on this site, delivered automatically!

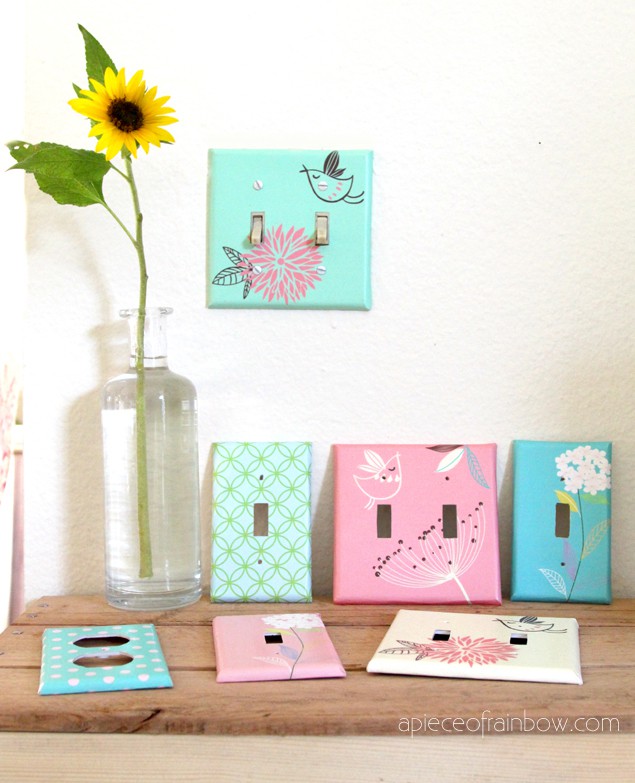
I love using paper or image transfer for home decor! You can check out a similar DIY project: transform boring outlet covers into designer ones, free designs included!
Happy creating!
PAGES: 1 2




No comments:
Post a Comment